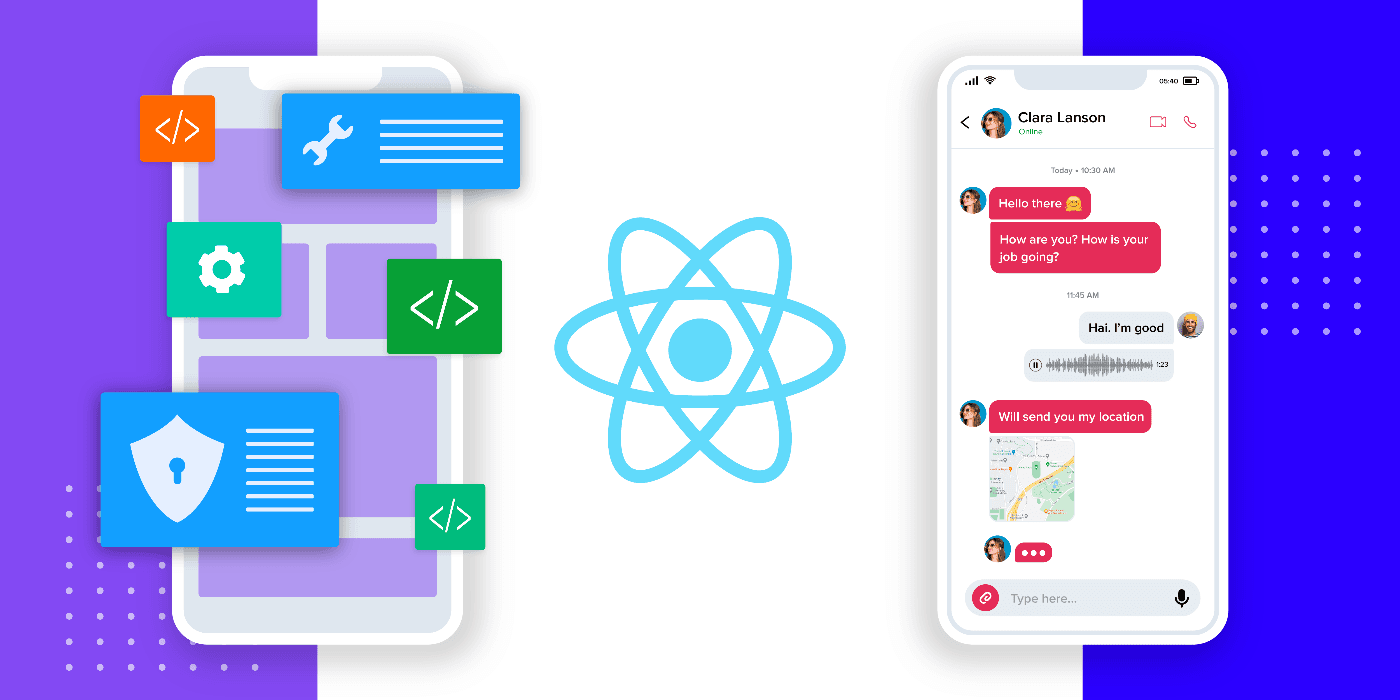
Creating a chat application can be a rewarding project that combines various aspects of front-end and back-end development. React Native, with its ability to create cross-platform mobile applications, is an excellent choice for this task. In this guide, we will walk through the necessary tech stack, best practices and a step-by-step implementation of a backendless chat app using React Native. By the end, you'll have a solid understanding of how to build a functional and optimized chat application.
Tech Stack and Libraries
- React Native: The core framework for building the chat app.
- Redux: For state management.
- Firebase/Firestore: For real-time database and authentication.
- React Navigation: For navigating between different screens.
- Expo: To quickly set up and develop the app.
- Gifted Chat: A popular library for building chat UIs.
Step-by-Step Guide to Build a React Native Chat App
Step 1: Setting Up the Development Environment
Before you start coding, ensure you have the necessary tools installed:
- Node.js: Install Node.js from nodejs.org.
- Expo CLI: Install Expo CLI by running
npm install -g expo-cli. - Firebase Account: Set up a Firebase project at firebase.google.com.
Step 2: Initializing the React Native Project
Use Expo CLI to create a new React Native project:
expo init ChatApp
cd ChatApp
expo start
Step 3: Setting Up Firebase
- Create a Firebase Project:
- Go to the Firebase Console.
- Click on 'Add project' and follow the instructions
- Install Firebase SDK: Run
npm install firebase. - Configure Firebase: Create a
firebase.jsfile and add your Firebase configuration:
// firebase.js
import firebase from 'firebase/app';
import 'firebase/firestore';
import 'firebase/auth';

const firebaseConfig = {
	apiKey: 'YOUR_API_KEY',
	authDomain: 'YOUR_AUTH_DOMAIN',
	projectId: 'YOUR_PROJECT_ID',
	storageBucket: 'YOUR_STORAGE_BUCKET',
	messagingSenderId: 'YOUR_MESSAGING_SENDER_ID',
	appId: 'YOUR_APP_ID'
};

if (!firebase.apps.length) {
	firebase.initializeApp(firebaseConfig);
}

const db = firebase.firestore();
const auth = firebase.auth();

export { db, auth };
Step 4: Creating Authentication Screens
SignUpScreen.js
import React, { useState } from 'react';
import { View, TextInput, Button } from 'react-native';
import { auth } from '../firebase';

const SignUpScreen = ({ navigation }) => {
	const [email, setEmail] = useState('');
	const [password, setPassword] = useState('');

	const handleSignUp = () => {
		auth.createUserWithEmailAndPassword(email, password)
			.then(userCredentials => {
				const user = userCredentials.user;
				console.log('Registered with:', user.email);
		})
			.catch(error => alert(error.message));
	};

	return (
		<View>
			<TextInput placeholder='Email' value={email} onChangeText={setEmail} />
			<TextInput placeholder='Password' value={password} onChangeText={setPassword} secureTextEntry />
			<Button title='Sign Up' onPress={handleSignUp} />
			<Button title='Already have an account? Login' onPress={() => navigation.navigate('Login')} />
		</View>
	);
};

export default SignUpScreen;
LoginScreen.js
import React, { useState } from 'react';
import { View, TextInput, Button } from 'react-native';
import { auth } from '../firebase';

const LoginScreen = ({ navigation }) => {
	const [email, setEmail] = useState('');
	const [password, setPassword] = useState('');

	const handleLogin = () => {
		auth.signInWithEmailAndPassword(email, password)
		.then(userCredentials => {
			const user = userCredentials.user;
			console.log('Logged in with:', user.email);
		})
		.catch(error => alert(error.message));
		};
	return (
		<View>
			<TextInput placeholder='Email' value={email} onChangeText={setEmail} />
			<TextInput placeholder='Password' value={password} onChangeText={setPassword} secureTextEntry />
			<Button title='Login' onPress={handleLogin} />
			<Button title='Don't have an account? Sign Up' onPress={() => navigation.navigate('SignUp')} />
		</View>
	);
};

export default LoginScreen;
Step 5: Setting Up Navigation
Install React Navigation libraries:
npm install @react-navigation/native @react-navigation/stack
expo install react-native-gesture-handler react-native-reanimated react-native-screens react-native-safe-area-context @react-native-community/masked-view
Create a basic navigation structure:
// App.js
import React from 'react';
import { NavigationContainer } from '@react-navigation/native';
import { createStackNavigator } from '@react-navigation/stack';

import LoginScreen from './screens/LoginScreen';
import SignUpScreen from './screens/SignUpScreen';
import ChatScreen from './screens/ChatScreen';

const Stack = createStackNavigator();

export default function App() {
	return (
		<NavigationContainer>
		<Stack.Navigator initialRouteName='Login'>
			<Stack.Screen name='Login' component={LoginScreen} />
			<Stack.Screen name='SignUp' component={SignUpScreen} />
			<Stack.Screen name='Chat' component={ChatScreen} />
		</Stack.Navigator>
		</NavigationContainer>
	);
}
Step 6: Creating the Chat UI
Install the GiftedChat library:
npm install react-native-gifted-chat
Create the ChatScreen component:
// screens/ChatScreen.js
import React, { useState, useEffect, useCallback } from 'react';
import { GiftedChat } from 'react-native-gifted-chat';
import { db, auth } from './firebase';

const ChatScreen = () => {
	const [messages, setMessages] = useState([]);

	useEffect(() => {
		const unsubscribe = db.collection('chats').orderBy('createdAt', 'desc').onSnapshot(snapshot => {
			setMessages(snapshot.docs.map(doc => ({
				_id: doc.data()._id,
				text: doc.data().text,
				createdAt: doc.data().createdAt.toDate(),
				user: doc.data().user
		})));
		});
		return unsubscribe;
	}, []);

	const onSend = useCallback((messages = []) => {
		setMessages(previousMessages => GiftedChat.append(previousMessages, messages));
		const { _id, createdAt, text, user } = messages[0];
		db.collection('chats').add({
			_id,
			createdAt,
			text,
			user
		});
	}, []);

	return (
		<GiftedChat
			messages={messages}
			onSend={messages => onSend(messages)}
			user={{
				_id: auth.currentUser?.uid,
				name: auth.currentUser?.email
			}}
		/>
	);
};

export default ChatScreen;
Step 7: Running the Chat App
Now, you can run the app:
expo start
Follow the prompts to view the app on an emulator or a physical device.
Best Practices for a React Native Chat App
- Security: Use Firebase security rules to protect your database.
- Performance: Optimize chat loading and rendering.
- Scalability: Structure your Firebase data for scalability.
- User Experience: Enhance with features like typing indicators and online status.
Conclusion
Building a chat app with React Native and Firebase is a great way to learn full-stack development. This guide covers the basics to get you started, but there's always room to add more features and improvements. Keep learning and happy coding!


